 Bitcoin Board
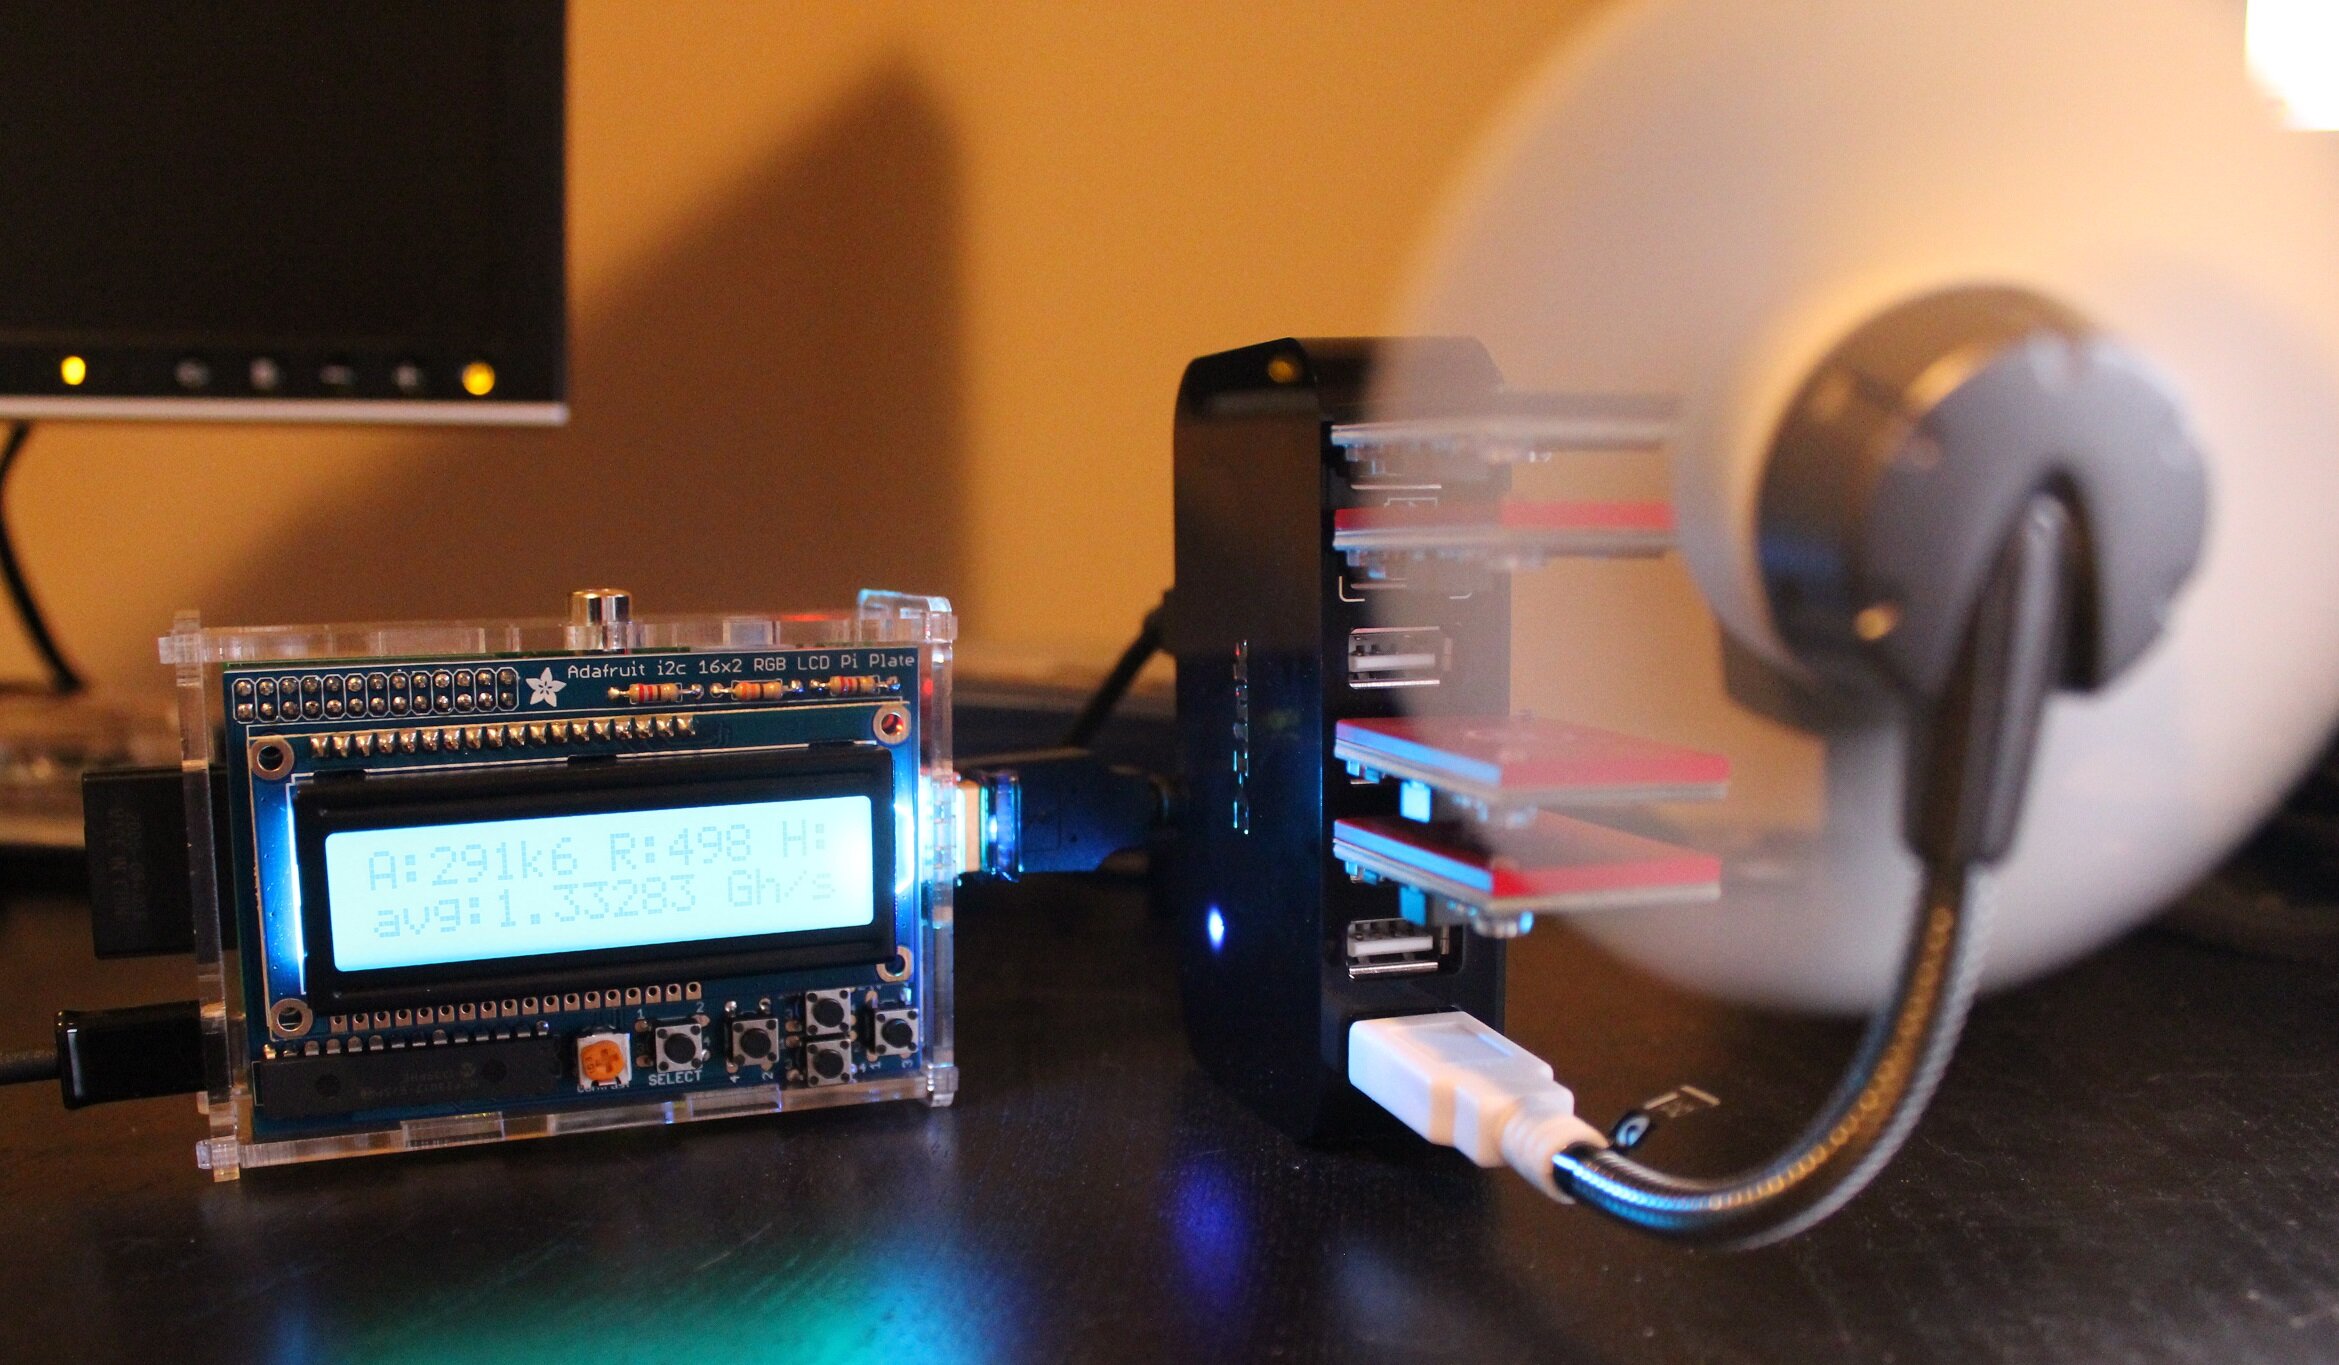
The Raspberry Pi is a perfect device to host your ASICMiner USB Block Erupters on and to transform it into a power efficient Raspberry Pi Bitcoin miner. This post will teach you in easy steps how you can transform your Raspberry Pi into a Bitcoin miner in no-time! You can also host Butterflylabs BTC Miners on the device.
Tools needed:
1X Raspberry Pi model b
1X SD card: at least 4 GB but 8 GB is recommended (use a decent class card, ie: class 10)
1X Externally powered USB hub
At least 1 ASICMiner USB Block Erupter or atleast 1 Butterflylabs Miner
1X Raspbian Wheezy OS image
Step 1 – Downloading the OS:
Download the Raspbian Wheezy operating system from: The Official Raspberry Pi Site and grab the win32diskimager from here to burn the iso to the SD card.
Step 2 – Burning the OS:
Insert the SD card in the computer, open up the disk imager, select the drive letter of the SD card (Notice: make sure you select the SD card or your hard disk will be wiped!) browse to the ISO inside the Raspbian zip file you downloaded and click burn.
Step 3 – Preparing the Raspberry Pi:
Connect your Pi to the internet via an Ethernet cable and to a TV with an hdmi cable, plugin the power and follow the on screen setup (I recommend changing the password when you’re at it). After the setup has been completed enter the following commands into the terminal: sudo apt-get update and if that one is done type this command: sudo apt-get upgrade. Once those commands have finished installing and updating, reboot the Pi by typing: sudo reboot and proceed to the next step.
Step 4 – Setting up bfgminer:
The Bitcoin Miner of choice we are going to be using is bfgminer which is developed by Luke-Jr.
This is a multi-step process so pay close attention:
- Download the bfminer source code zip file from https://bitcointalk.org/index.php?topic=168174.0 I recommend the latest stable release. To download the zip file use the build in browser in the User Interface and save it somewhere easy to remember. I recommend saving it to the desktop.
- Use the command sudo aptitude update to make sure all packages are up to date.
- install the dependencies by entering the command sudo aptitude install autoconf libtool libncurses-dev yasm curl libcurl4-openssl-dev libjansson-dev pkg-config libudev-dev
- navigate to the directory you saved the source code in using cd … (IE: cd ~/Desktop if you saved it to the desktop)
- unzip the source code using unzip your-bfg-zipfile-name (IE: unzip bfgminer-2.8.3) then move into the directory by using cd your-bfg-filename (IE: cd bfgminer-2.8.3)
- Run the command: ./autogen.sh once that is finished enter the following command: ./configure and finale run: make and wait for it to be finished. If it gives you this error: configure: error: Could not find HASH_ITER – please install uthash-dev 1.9.2+ run sudo aptitude install uthash-dev.
- plugin your USB hub into the Pi and the power of the hub into a wall outlet and plugin your ASICMiner Block Erupter(s)
- enter the command cd (this takes you to the home directory)
- enter: ls –l /dev/ttyusb* your block erupter(s) should show up as ttyUSB0, ttyUSB1, etc. make sure this number is the same as the amount of block erupters you have plugged in, If they don’t all show up some may have problem. Play around with the placement to see if they show up then.
Step 5 – Running bfgminer:
Run bfgminer with: sudo ./bfgminer or it will not correctly save your config file
Step 6 – Setting up pool details:
Enter in the address and worker name and worker password from the pool you’re using and you’re done. Happy mining
Extra
Using a program called putty found here: https://the.earth.li/~sgtatham/putty/latest/x86/putty.exe you can connect to your pi on your local network without having it attached to a tv using the ip it displays on screen on startup and the username pi and the password you set. If you haven’t changed the password the default password is: raspberry.
This is it! You should now have a fully functional Raspberry Pi Bitcoin Miner, and you can add more hashing power by increasing the amount of Block Erupters you use. If you have any questions about this guide, please ask them in the comment section below.


 Mining Rig")
